


Drupal Live Site Build (Part 3) — Create Bootstrap Grid using Views and Display Related Content


Don’t forget to subscribe to our YouTube channel to stay up-to-date.
📧 Get notified when new tutorials are published. Subscribe to our newsletter.
🔥🔥 Check out our Drupal Courses.
Video sections:
- 02:52 Review what we’ll build
- 03:40 Mention where to get show notes and copy of site
- 10:18 Create portfolio content type
- 14:36 Configure portfolio content type using layout builder
- 17:54 Add Display Suite classes
- 24:57 Add
img-fluidstyle onto element using SCSS - 30:30 Implement portfolio view
- 36:34 Create card view mode on portfolio
- 41:23 Implement Bootstrap Card component markup
- 47:06 Using Field Group module to create elements
- 53:13 Display views items in Bootstrap grid
- 57:49 Bootstrap spacing classes
- 01:00:35 Make fields clickable
- 01:10:04 Implement related block view
- 01:11:38 Add views block region via layout builder
- 01:13:45 Create portfolio category vocabulary
- 01:14:19 Create portfolio category field
- 01:17:02 Add “Content ID” contextual filter
- 01:21:48 How to display the views query
- 01:24:17 Add “Has taxonomy term ID” contextual filter
- 01:28:02 Hide block if no results are returned
- 01:30:44 Add random sort to view
- 01:35:56 Add height 100% style to card component
- 01:37:59 Ending and questions
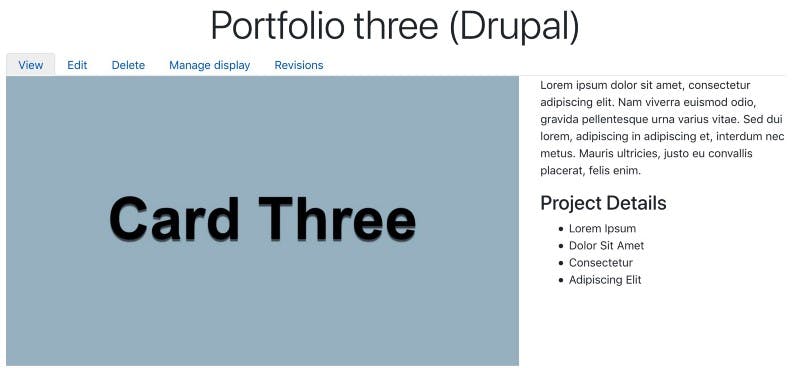
In the show notes below, I outline what we implement in part 3 of the Drupal live site build. We’ll create a new content type called Portfolio which will have three fields, Body, Featured (media field) and a Portfolio category field.
Then we create a “Related project” block which will display other portfolio items which are related through the category field.

We use the Views module to create the block.
And then we create a listing page which displays the portfolio items as Bootstrap Card components in a grid layout.
💻 Get a copy of the built site from GitHub.
Display Suite CSS Classes for Regions
For us to implement everything, we need to add a few classes into the “CSS classes for regions” option in the Display Suite settings.
Go to Structure, Display Suite and click on the Classes tab.
Then add the following options in the “CSS classes for regions”:
row|row col|col col-md-4|col-md-4 col-md-6|col-md-6 col-md-8|col-md-8 h-100|h-100
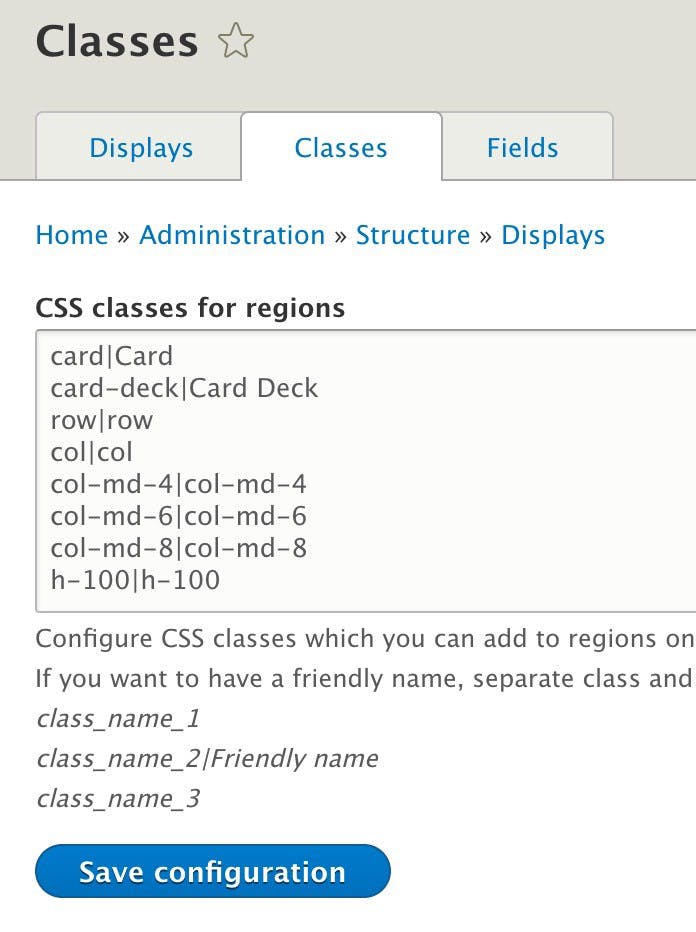
NOTE: There are already existing classes from part 1 and 2.
Create Portfolio Content Type
First, let’s go and create the Portfolio content type.
At this point the content type will only need a Body and Featured (media field for selecting images) field.
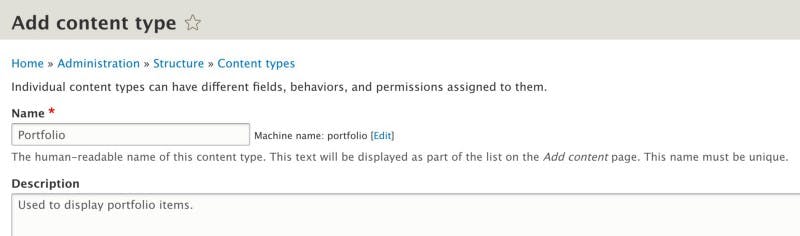
1. Click on Structure in the toolbar, “Content types” and click on “Add content type”.
2. Enter in Portfolio into the Name field and some text into the Description field such as “Used to display portfolio items.”. Then click on “Save and manage fields”.
Now that the content type has been created let’s create the fields.
NOTE: The Body field is already created. This happens when you create a content type so at this point we just have to create the Featured field. This will be a media field which will let you select an image media entity.
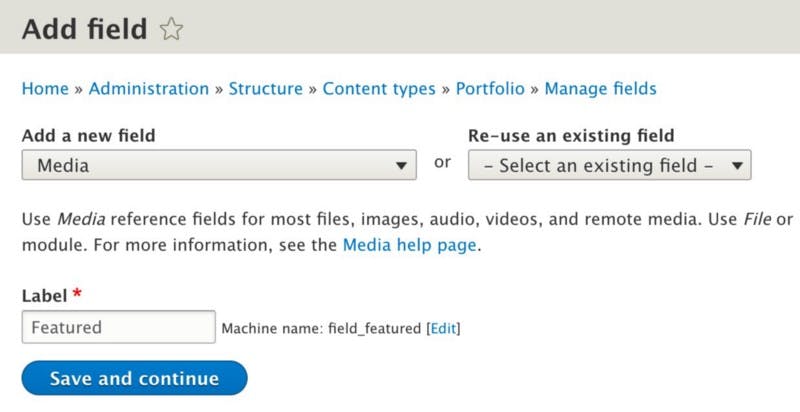
3. Click on “Add field”.
4. Select Media from the “Add a new field” drop-down and enter “Featured” into Label and click on “Save and continue”.
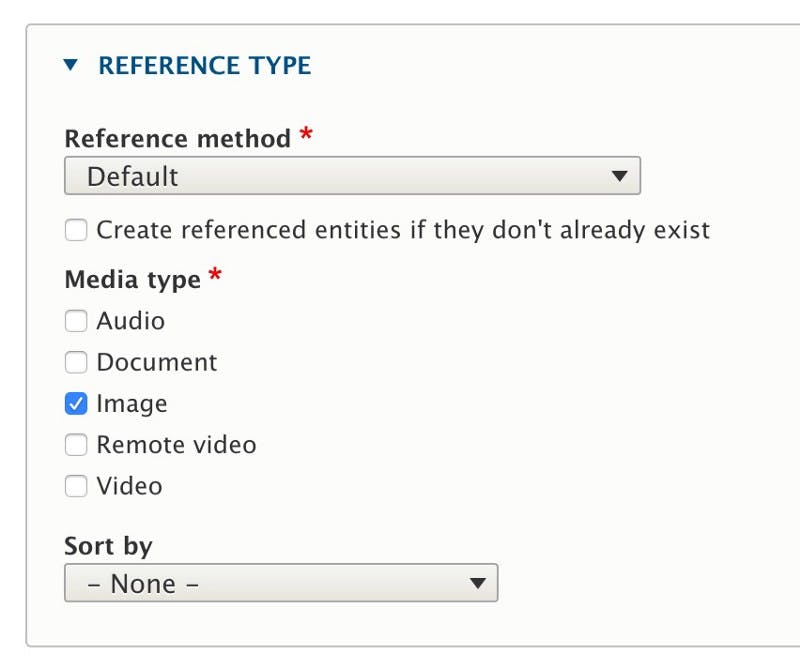
5. On the field edit page make sure you select Image from the “Media type” checkbox list. Then click on “Save settings”.
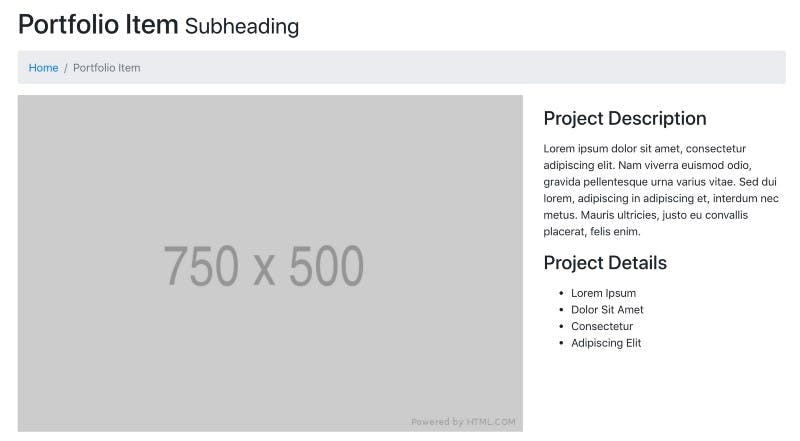
Portfolio Full Content Layout
Now that we have the content type and fields let’s configure the full content layout. Using, of course, layout builder.
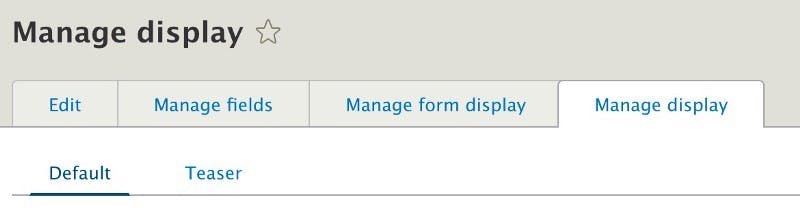
1. While still on the Portfolio content type click on “Manage display”.
2. Scroll down to “Custom display settings” on the Default view mode and check “Full content” to enable it.
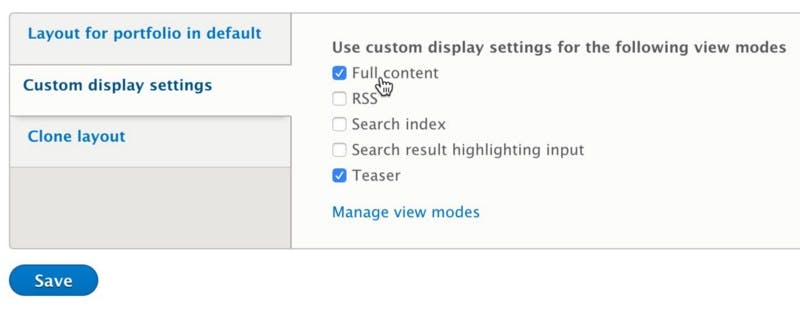
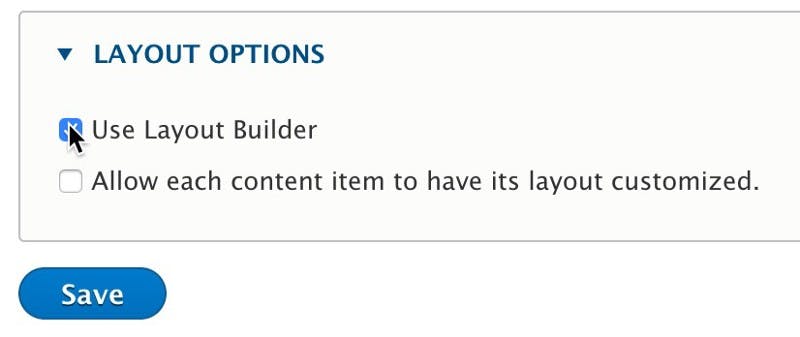
3. Then click on the “Full content” view mode and enable layout builder by checking “Use Layout Builder” and click on Save.
Configure Layout Builder on Portfolio Content Type
Once you have enabled Layout Builder on the Portfolio content type, you should see a “Manage layout” button, click on it to manage the layout.
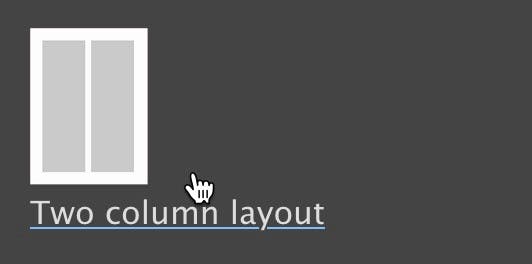
1. Click on “Add section”.

2. Select the “Two column layout” Display Suite layout.
3. Then click on “Custom classes” and expand the area.
Select the “row” class in “Class for layout”, “col-md-8” in “Class for Left” and “col-md-4” in “Class for Right”.
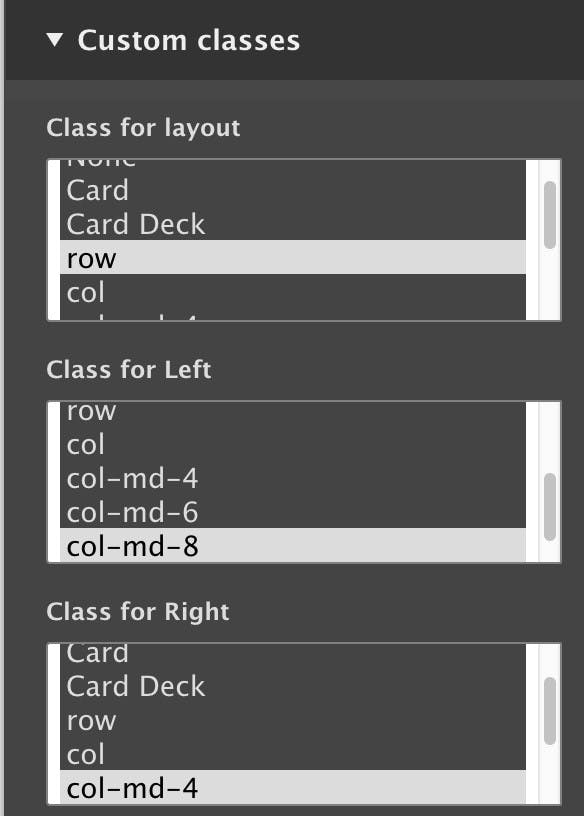
NOTE: If you can’t see the classes in the drop-down then make sure you’ve added them into the “
CSS classes for regions” field in the Display Suite settings.
Add Fluid Style on Image
If you go ahead and create a portfolio, you’ll notice that the image is really big. It doesn’t resize correctly in the wrapping DIV.
Bootstrap has responsive image classes which can be used to make images responsive.
The class I like to use is img-fluid which just adds a max width of 100% on the image.
Adding a class to the IMG element through Drupal can be tricky. So instead of trying to override templates or preprocess functions, we’ll use Sass to apply the style.
Note: We covered creating a template and compiling Sass in part 1.
1. Open the ww_bootstrap4 theme (created in part 1) and create a file with the following path scss/custom/field/_image_media.scss within the theme.
2. Add the following Sass into the file:
.field--name-field-featured { img { @extend .img-fluid; } }
3. Then open scss/style.scss and add @import 'custom/field/image_media'; into the file so it gets compiled.
4. Then go and compile the Sass files.
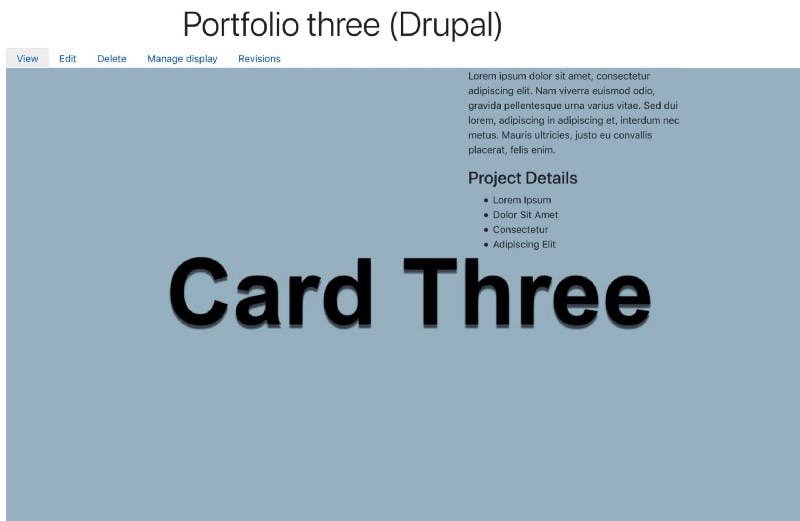
The portfolio image should now resize and fit nicely in the left column.
Portfolio Card Layout
At this point, we have created the Portfolio content type and configured the “Full content” layout. Now it’s time to create a Card layout for the content type.
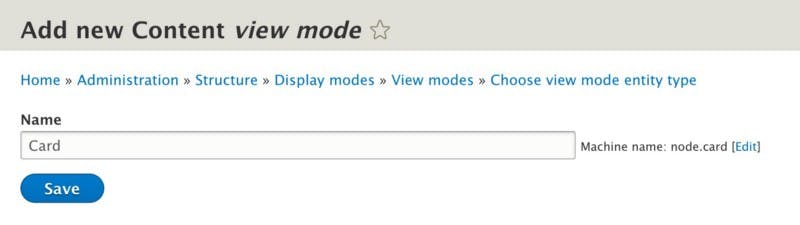
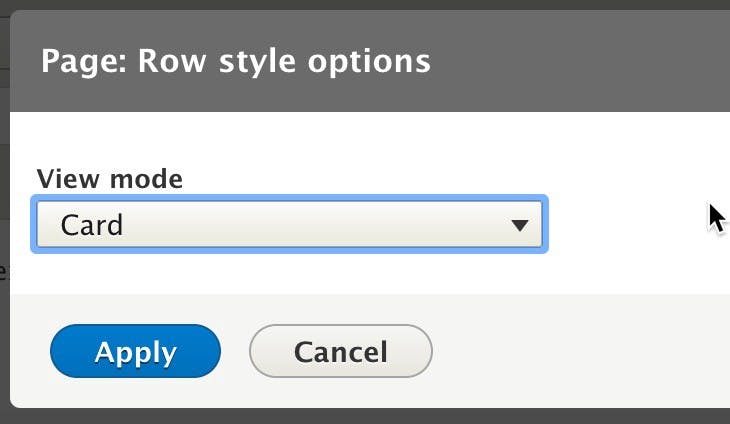
1. First, let’s create a Card view mode. Go to Structure, “View modes” and click on “Add new Content view mode”
2. Enter in Card into the Name field and click on Save.
3. Go to Structure, “Content types” and click on “Manage display” on the Portfolio row.
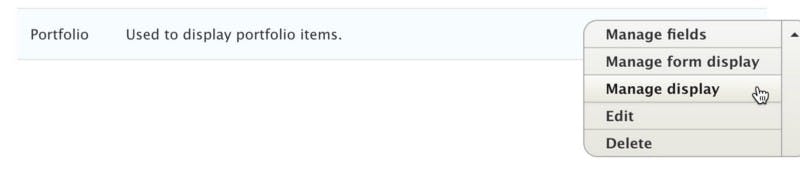
4. While on the Default view mode, scroll down to the bottom and expand “Custom display settings” and check Card and click on Save. This will enable the Card view mode on the content type.
5. Now you should see a Card tab and click on it.
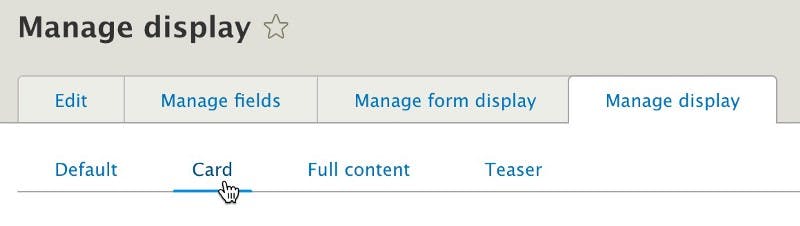
6. Click down to “Layout for portfolio in card” and select “One column layout”.

7. Click on “Custom classes” and select Card and h-100 from the “Class for layout” option.
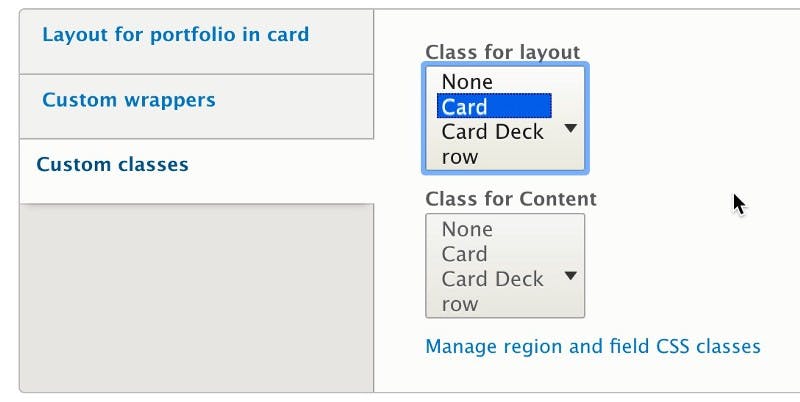
NOTE: If you don’t see the options make sure you add the classes to Display Suite.
8. Click on “Add field group” and select “HTML element” from “Add a new group” and add “Card body” into Label.
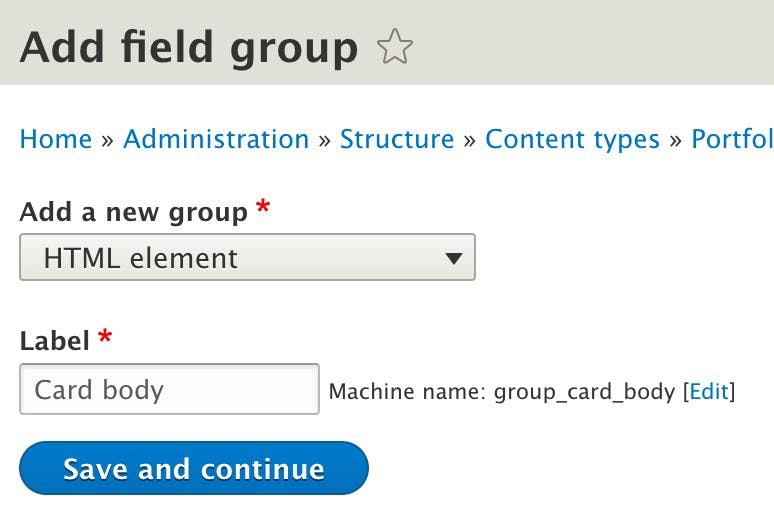
Then add card-body into "Extra CSS classes".
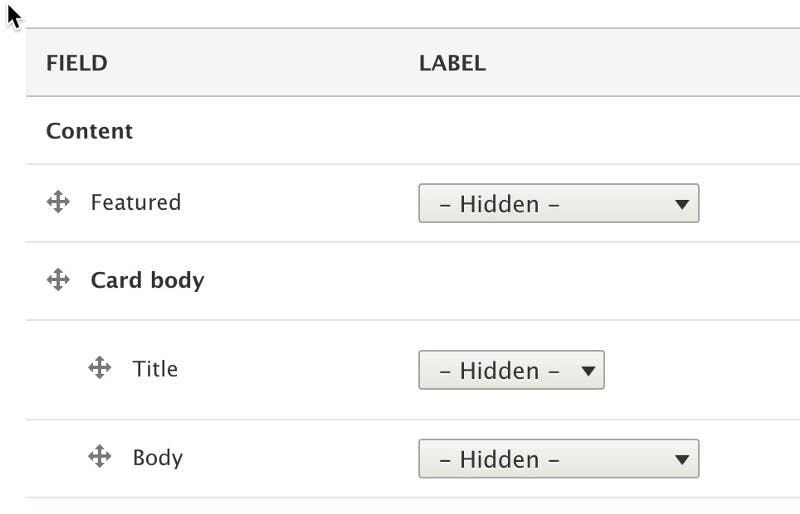
9. Reorder the fields into the following order:
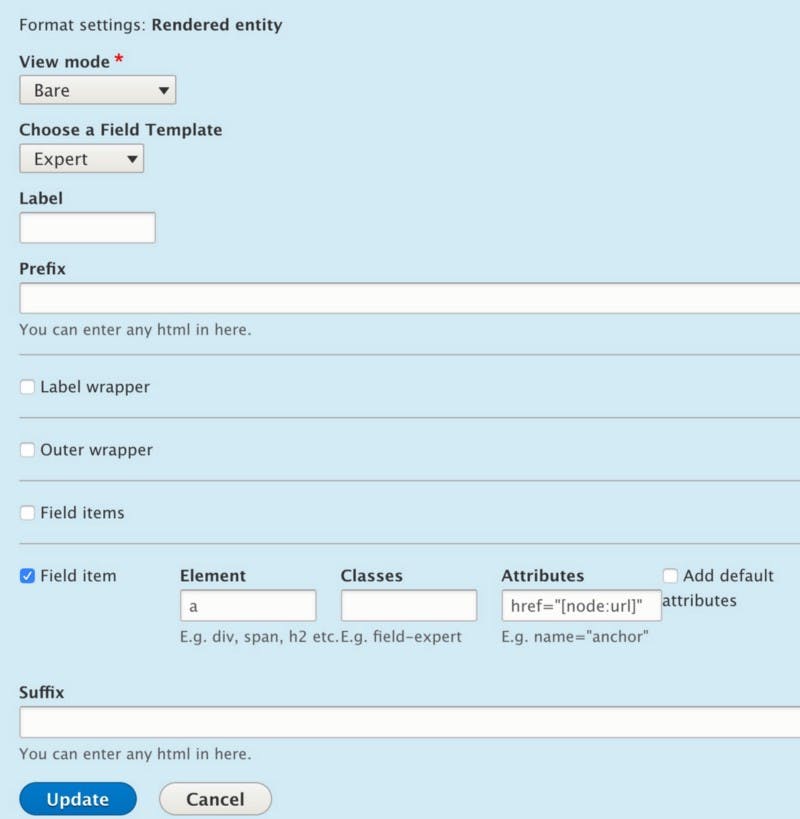
10. Configure the Featured image as follows:
- Formatter: Rendered entity
- View mode: Bare
- Field Template: Export
- Field item
- Element: a
- Attributes:
href="[node:url]"(This will make the image clickable)
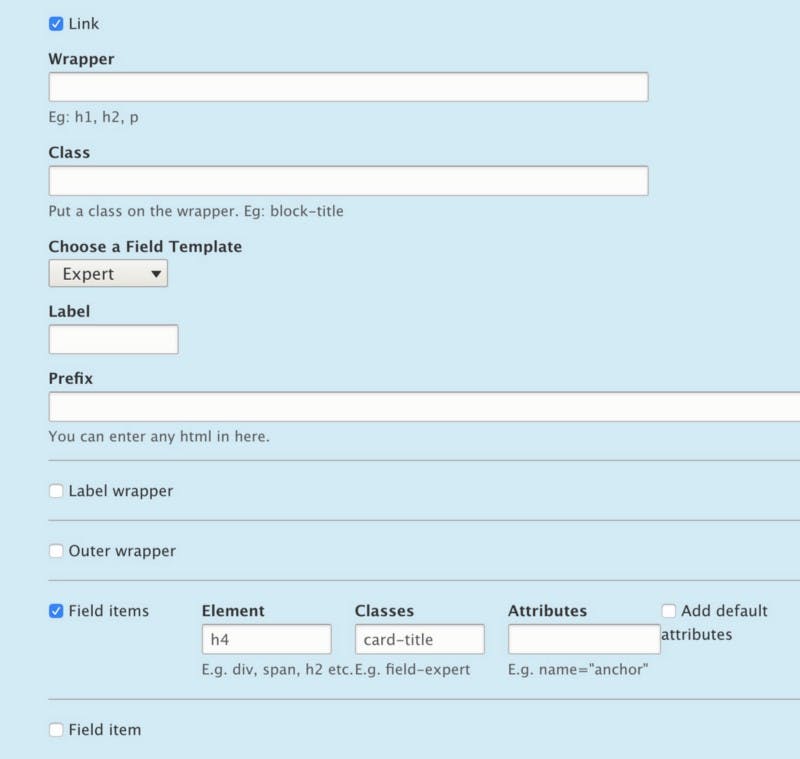
11. Configure the Title field as follows:
- Formatter: Default
- Link: Checked
- Field Template: Export
- Field items
- Element: h4
- Classes:
card-title
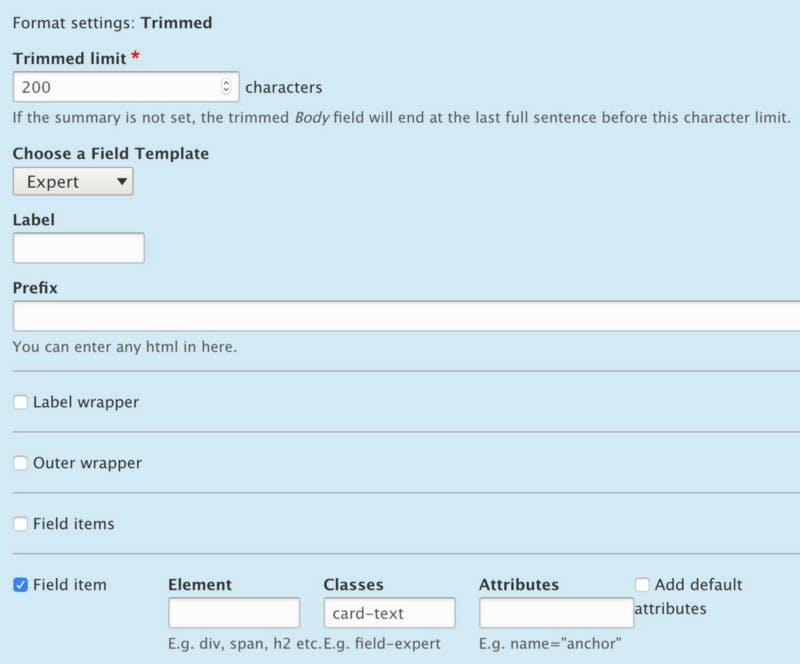
12. Configure the Title field as follows:
- Formatter: Trimmed
- Trimmed limit: 200
- Field Template: Export
- Field item
- Classes:
card-text
Portfolio Listing View
So far we’ve created the required content type and customized the Portfolio content type to be displayed as a Card component. Now we need to create the view which will list out all the portfolio items on the /portfolio page.
1. Go to Structure, Views and click on “Add view”.
2. Enter “Portfolio” in the View name, select Portfolio from “of type” and check “Create a page”
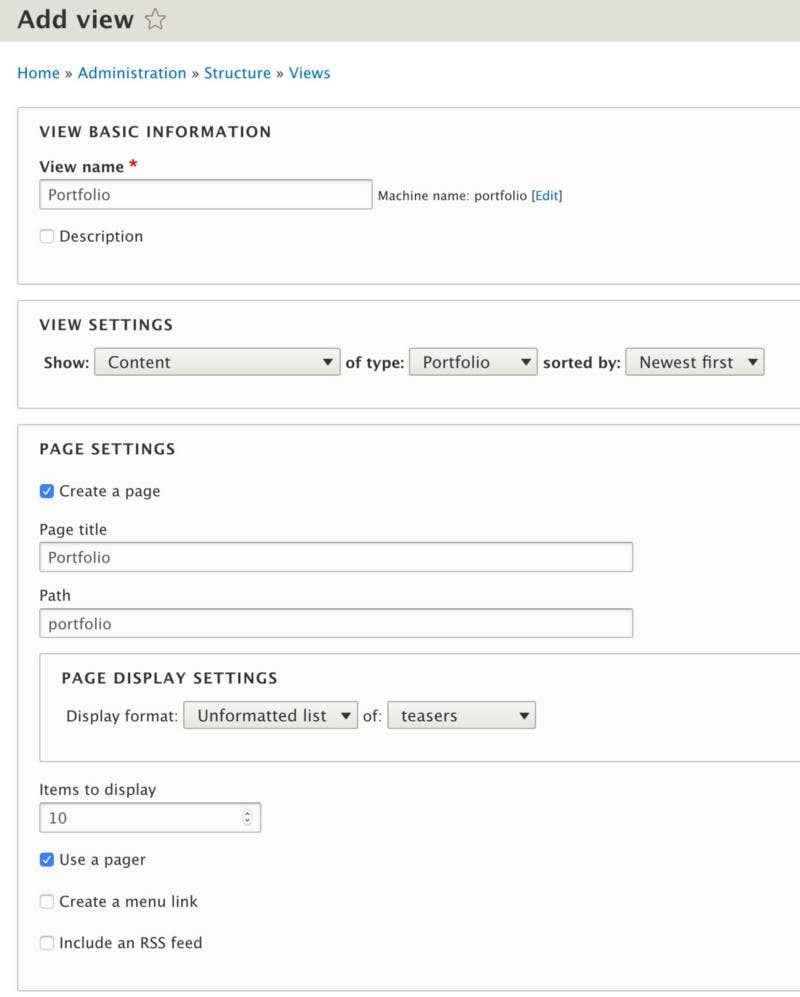
Then click on “Save and edit”.
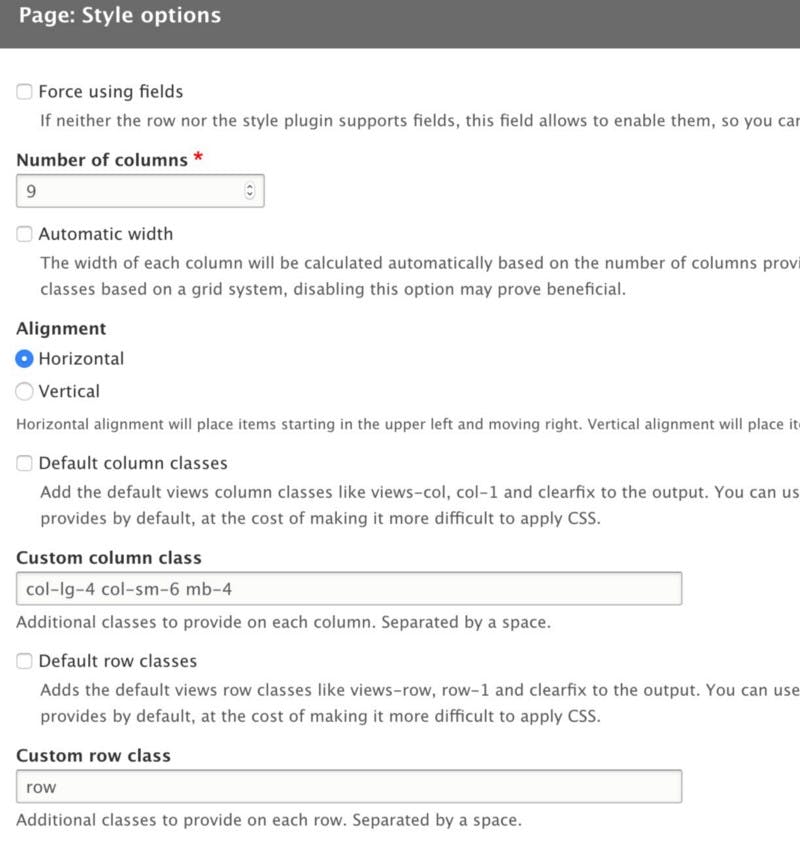
3. In the Format section, click on “Unformatted list” and select “Grid”.
4. Configure the following:
- Number of columns: 9
- Custom column class:
col-lg-4 col-sm-6 mb-4 - Custom row class:
row
5. Then go and switch the view mode in the Show section to Card.
Once all is done click on Save.
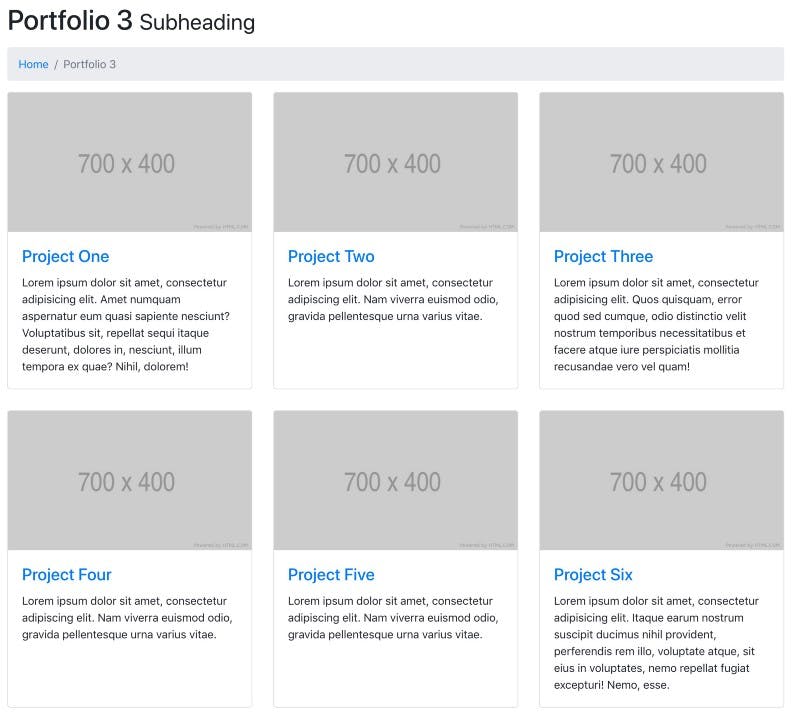
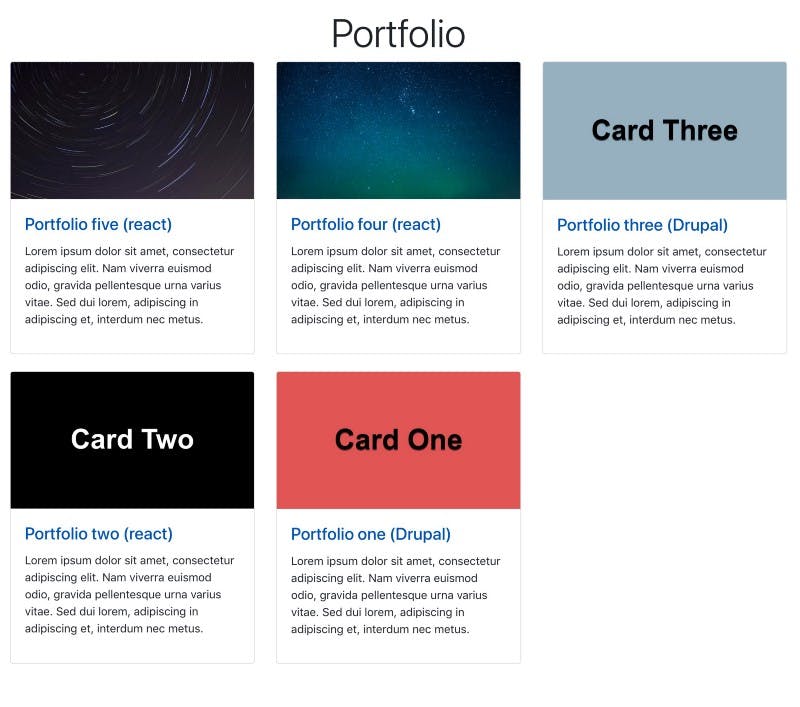
If you go to /portfolio you should see a grid portfolio items displayed as cards.
Create Related Projects View
In the section above we created a view to display out all the portfolio items.
Now we’ll create an advanced view which will display related projects at the bottom of a portfolio page.
Create Portfolio Category Vocabulary
The way we will figure out “what is a related project” is by using a portfolio category. If you’re on a portfolio page with a select category, related projects will be displayed from the same category.
First, we need to do is create a “Portfolio category” vocabulary.
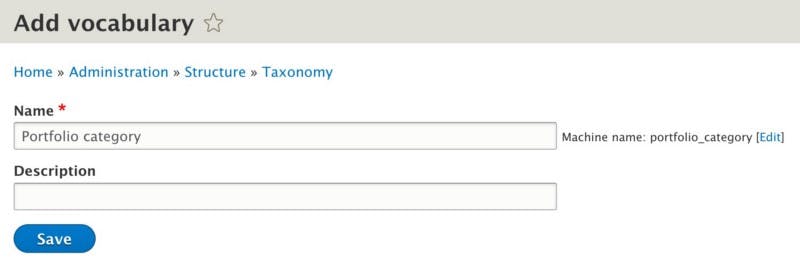
1. Go to Structure, Taxonomy and click on “Add vocabulary”.
2. Enter “Portfolio category” into the name field and click on Save.
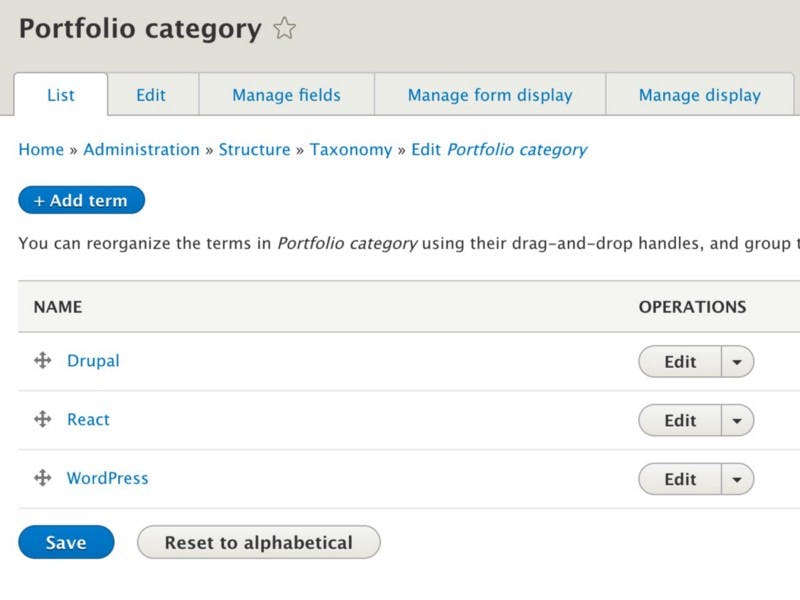
3. And don’t forget to add a few category items.
4. We will need to create a taxonomy term field on the Portfolio content type to use this new vocabulary.
5. Go to Structure, “Content types” and click on “Manage fields” on the Portfolio row.
6. Click on “Add field”, select “Taxonomy term” as the field and add “Portfolio category” as the Label.
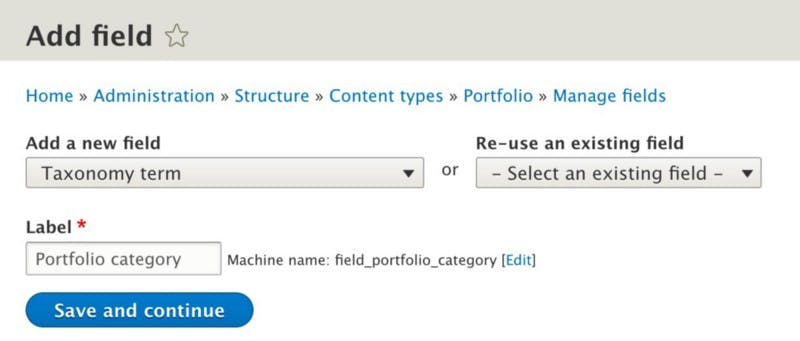
7. Select “Limited 1″ as the “ Allowed number of values”.
8. On the field edit page scroll down to “Reference type” and select “Portfolio category” as the Vocabulary.
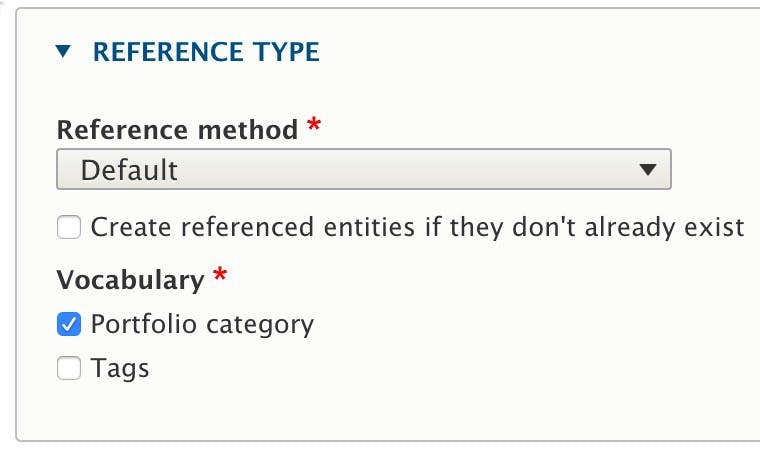
Then click on “Save settings”.
9. Click on the “Manage form display” and switch the widget to “Select list”.

Then click on Save.
Create Block View
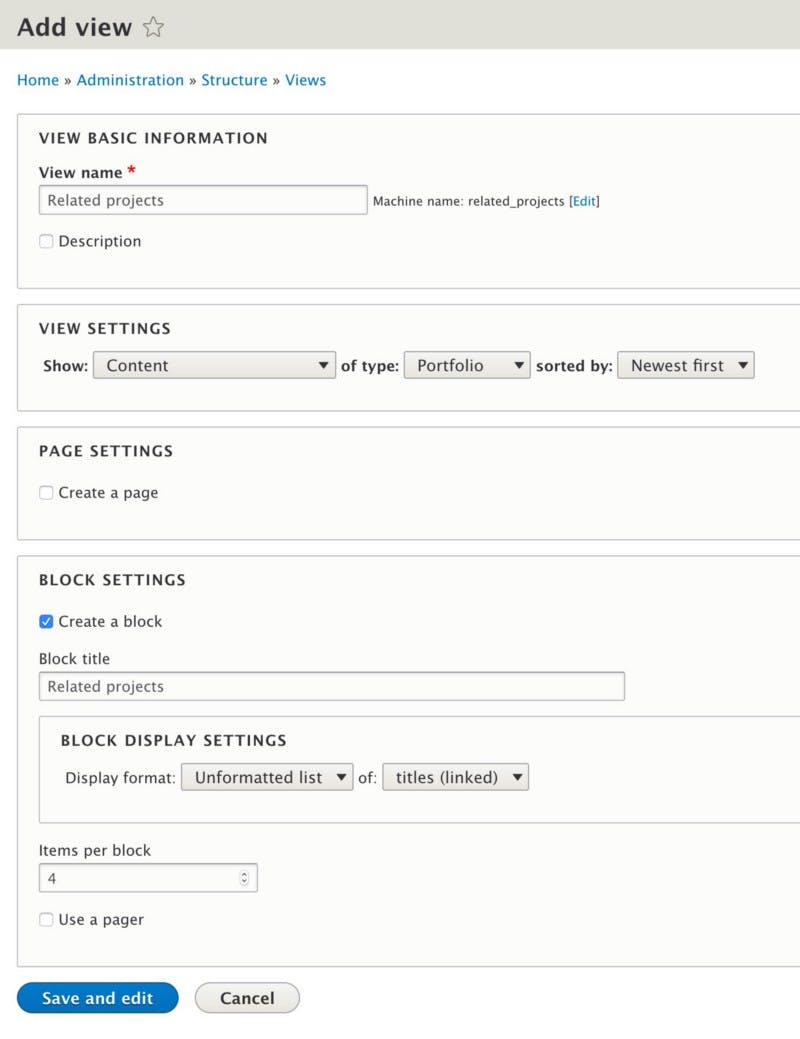
1. Go to Structure, Views and click on “Add view”.
2. Enter “Related projects” into Name and configure the rest of the options like the image below:
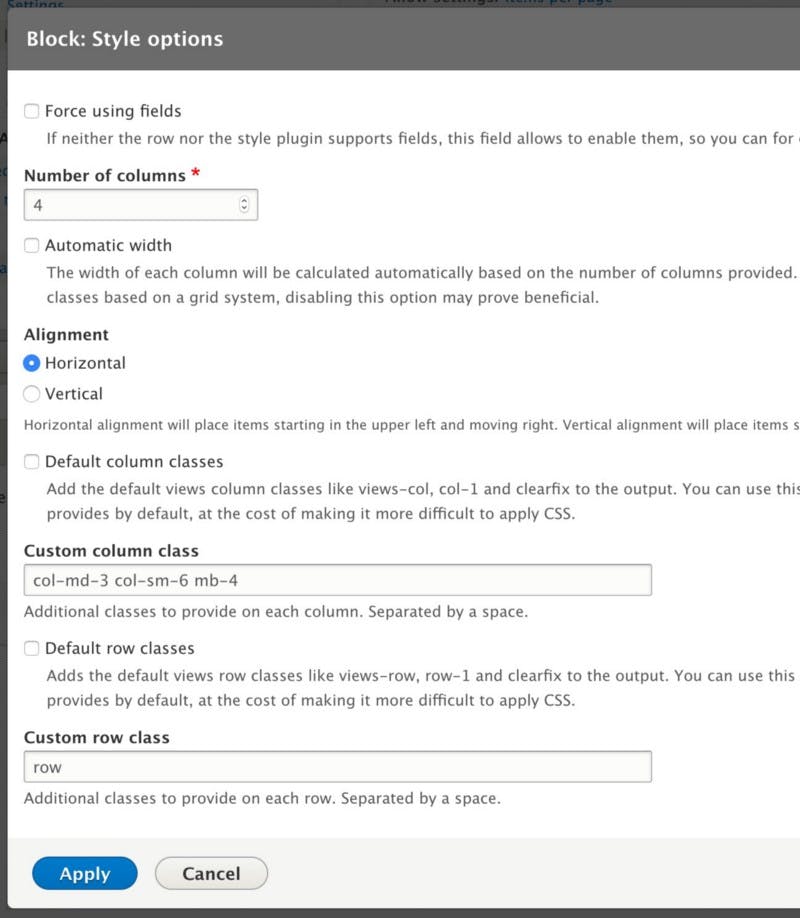
3. In the Format section, click on “Unformatted list” and select “Grid”.
4. Configure the following:
- Number of columns: 4
- Custom column class:
col-md-3 col-sm-6 mb-4 - Custom row class:
row
Add Contextual Filters to Block View
Now we come to the advanced part of the build and that’s configuring the two required contextual filters on the view.
We need to add two contextual filters to display the related projects. The first filter will be used to load the current content, and then second will load all other content with the same taxonomy terms, i.e., portfolio category.
1. Make sure you still have the “Related projects” view open and click on Advanced then click on Add next to “Contextual filters”.

2. Search for “ID” and add the “ID” filter from the Content category.

3. Select “Content ID from URL” as the default value.

4. Click on the More fieldset and check Exclude.
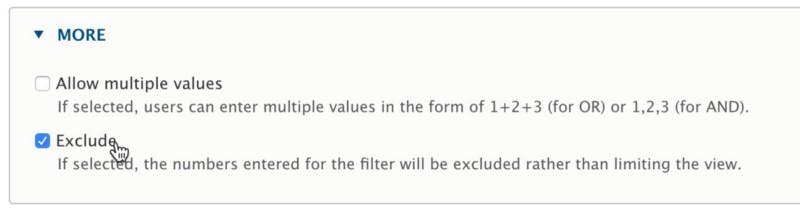
By switching on Exclude this will make sure the current portfolio item doesn’t appear in the related projects list.
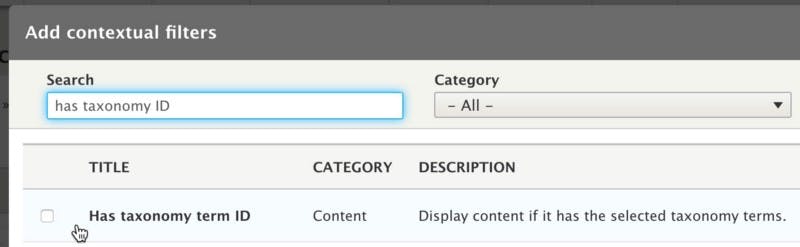
5. Go add another contextual filter and this time add the “Has taxonomy term ID”.
6. Configure the filter like so:

7. Because this is a block view, you want to hide it if no results are returned. Or it’ll display an empty block. You can switch on this feature in the Advanced section, look for the “ Hide block if the view output is empty” option.

Add Related Projects Block to Portfolio Layout
The final piece of work we need to do is add the new block view to the Portfolio layout.
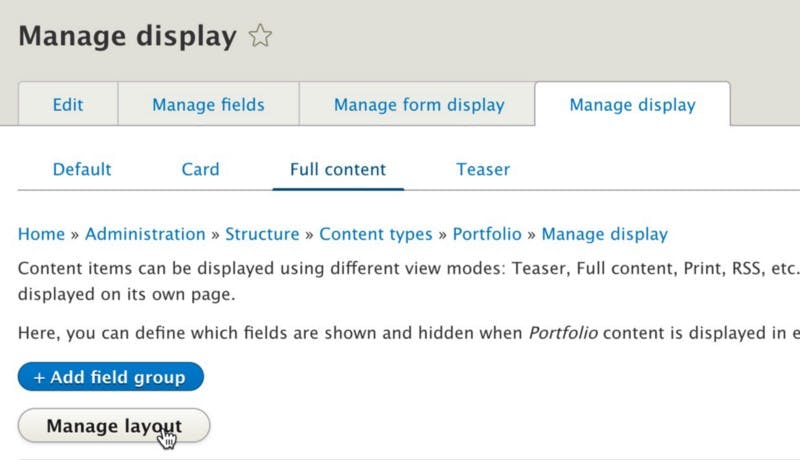
1. Go to Structure, “Content types” and click on “Manage display” on the Portfolio row.
2. Click on “Full content”, then “Manage layout”. Remember, we’re using Layout Builder to manage this content type.
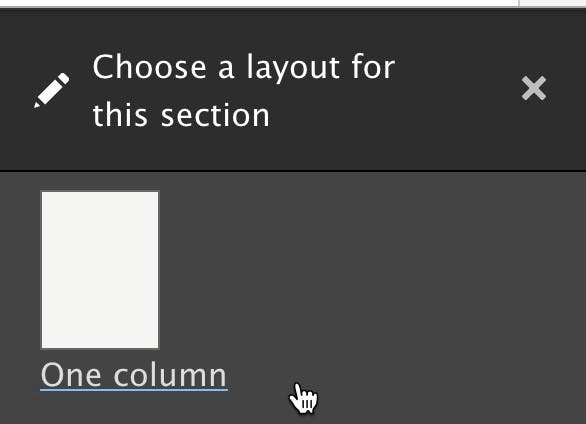
3. Add a new section and select “One column” as the layout.
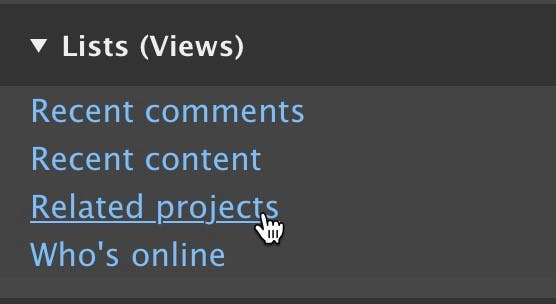
4. Click on “Add block” in the new section, then click on “Related projects” from the “Lists (Views)” section.
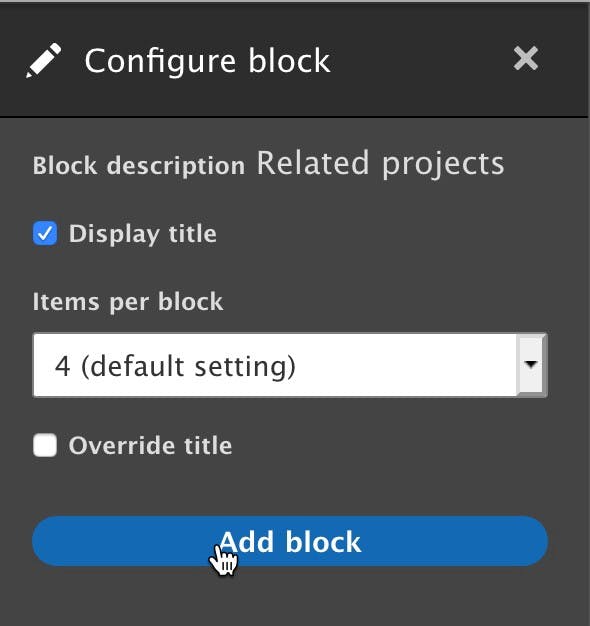
5. Then click on “Add block”.
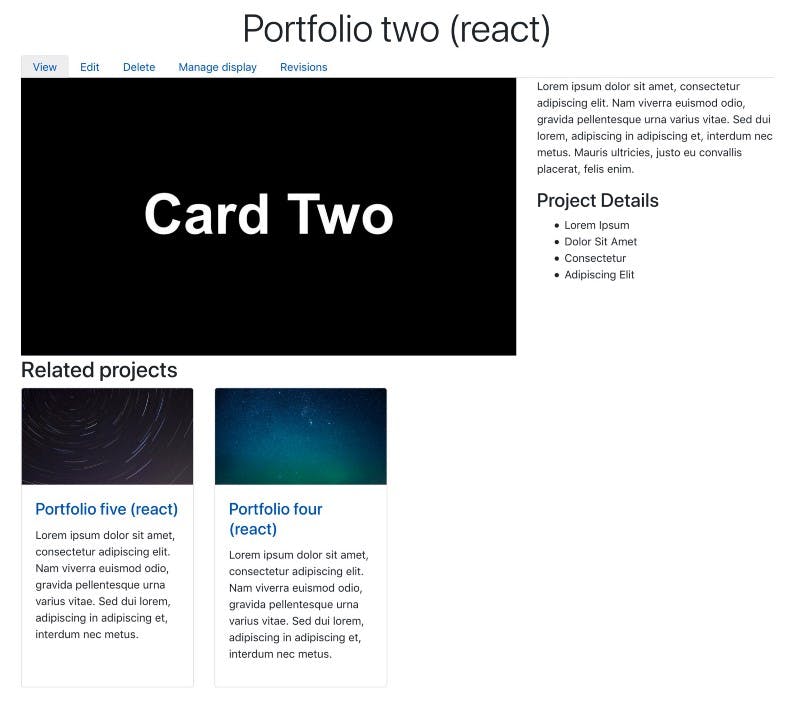
6. You should see the new section and block below the main section.

7. To test this out you’ll need to create a bunch of portfolio items and categorize them.
Then you should see the “Related projects” block on the Portfolio page.
Summary
In this video, we touched on a lot of Drupal’s site-building functionality. We created a custom content type, added fields and created two custom views.
Originally published at webwash.net on August 25, 2020.